Hey friends, I have a fun topic to cover today: art projects! It involves rubber chickens, lab equipment, and excessive heat. I’m not going to share any details about the art project itself, this write-up is limited to the techniques I have explored while learning to weld closed the bottom of a rubber chicken following the truncation at the legs.
Project goals
It’s always important to establish a desired outcome in any project like this, so here are the goals I have for the chicken truncation.
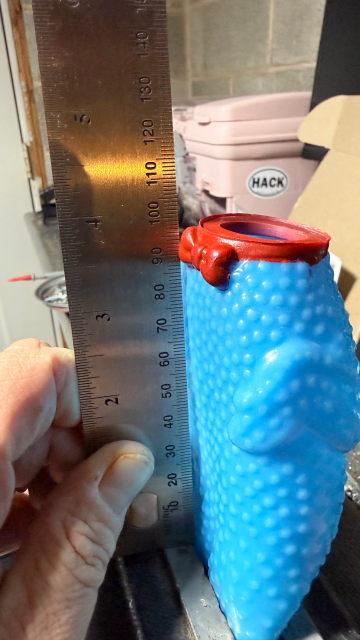
- The rubber chicken must be the dimensions we’re looking for, which in this case is roughly 20cm
- The chicken shouldn’t have any scorch marks or burn spots
- No jagged edges should be visible
- The rubber chicken must still squeak once the process has been completed
Introducing the chickens
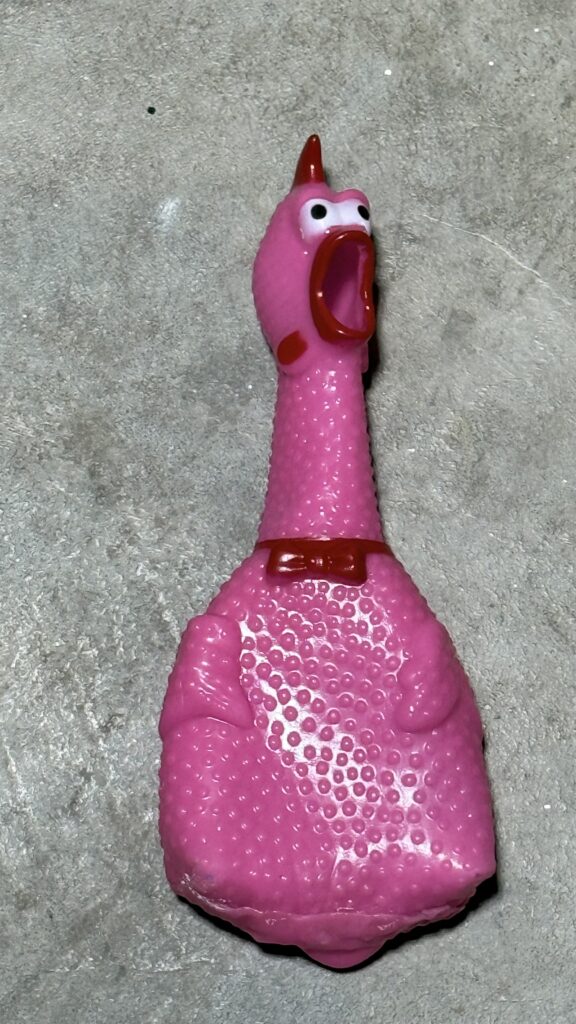
As most good technologists, I am committed to standards-compliance. Protocols over platforms, yeah? I can confirm that the rubber chickens used in this project do indeed comply with RFC-2321. I bought these as part of a 16-pack of rubber chickens from AliExpress; don’t ask why, it’s impolite to ask why someone bought rubber chickens, suffice it to say I wanted rubber chickens. Let’s look at measurements really quick.
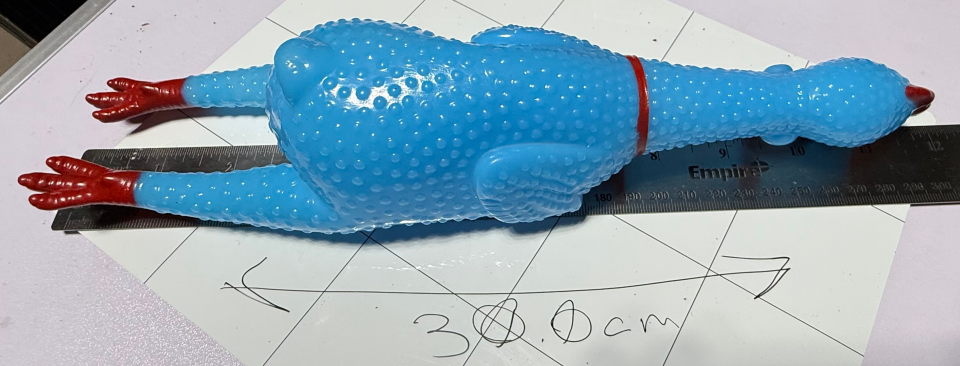
| Dimension | Measurement |
|---|---|
| Length | 30.0cm |
| Width | 6.7cm |
| Depth | 6.2cm |
| Head only length | 10.0cm |
| Weight | 78g |
| Truncated prototype weight | 60g |
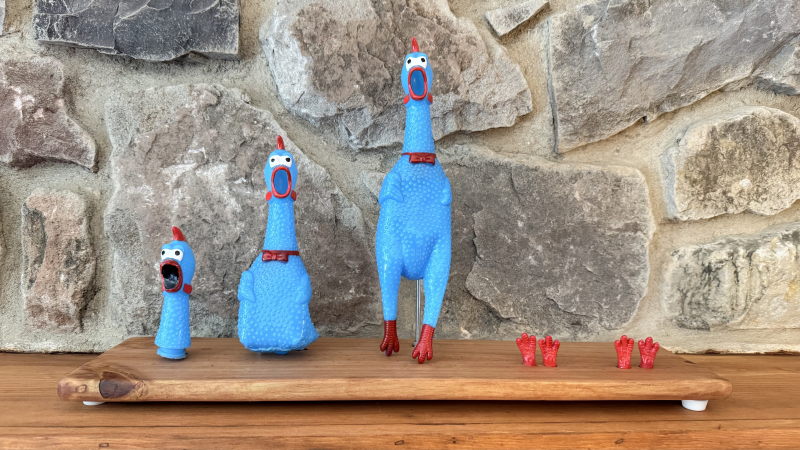
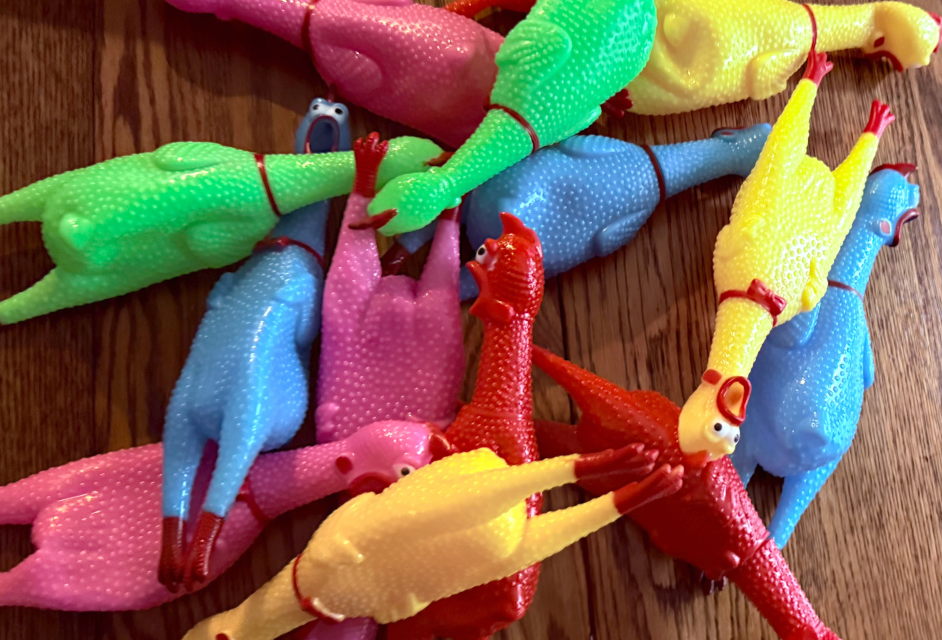
The chickens are pretty consistent, and the pack I bought came in red, yellow, green, blue, and pink. The pink ones are not the right color for my project, so they’ve been my go-to for experimenting. Let’s take a closer look at what I’m working with.
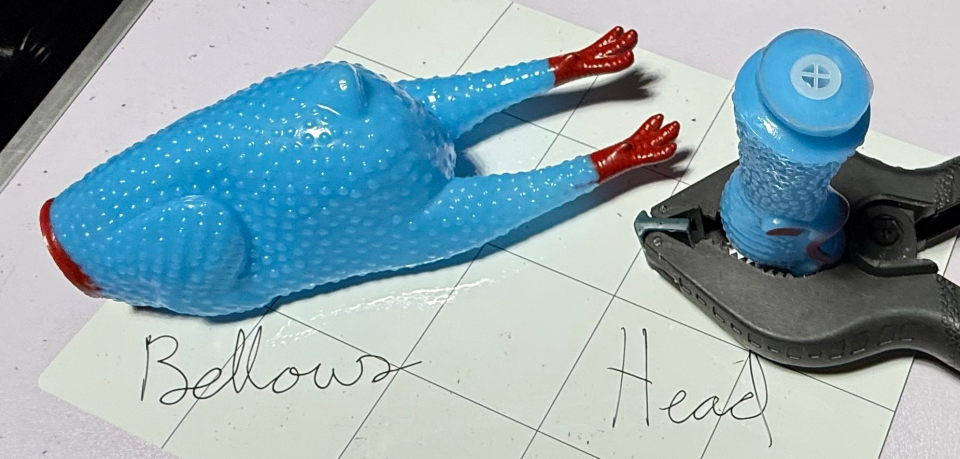
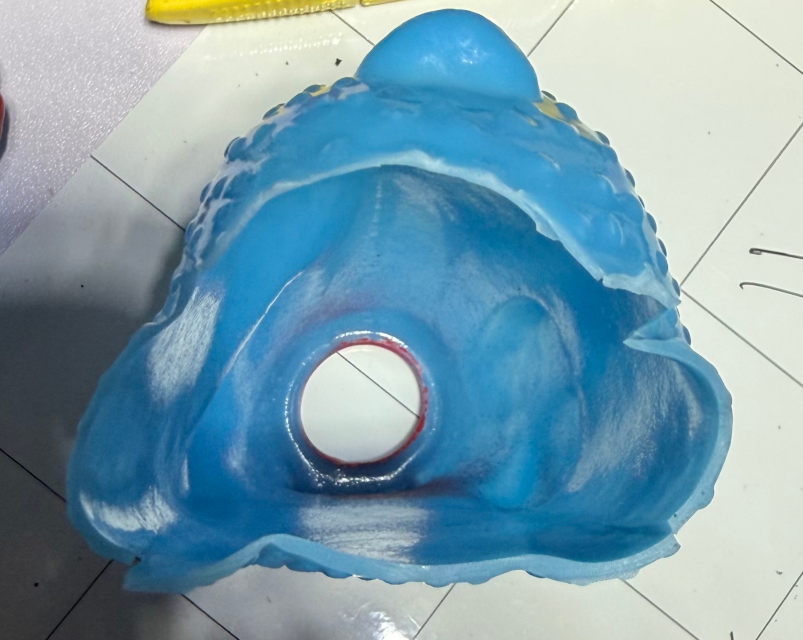
A rubber chicken, from a functional perspective, is comprised of two parts (Fig 1): the head and the bellows. The head contains the squeaker, and the bellows simply pushes air past the squeaker. When we truncate the chicken’s feed we must form a seal sufficient for the bellows to maintain their function. Now that we’ve got a better understanding of the rubber chicken itself, let’s start experimentation!
Finding the right heat source
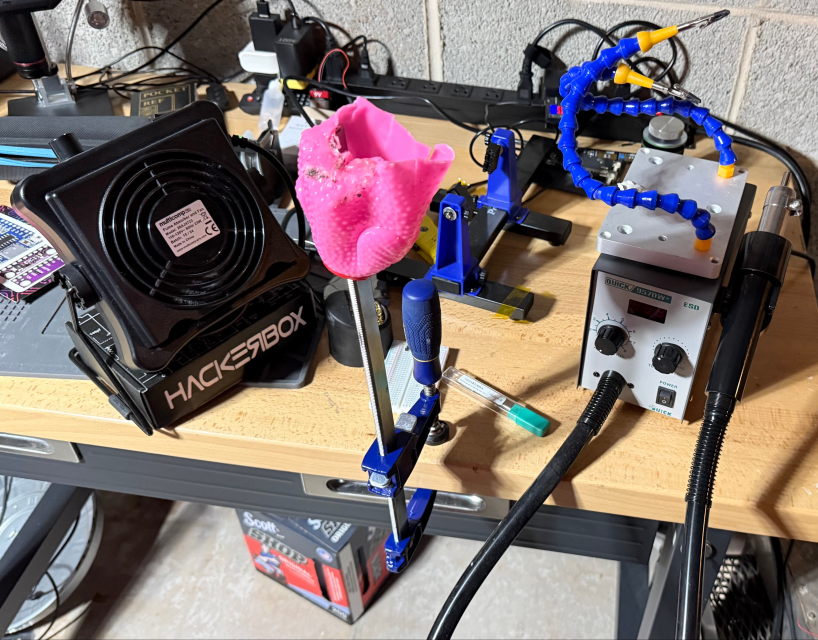
While we call these items “rubber” chickens, they’re actually soft vinyl chickens. I knew that heat would likely be the best way to seal up the bottom of the rubber chicken once it had been truncated. I also know that soft vinyl will scorch and burn if you get it too hot. I have had some pretty good success with soldering irons and hot air for electronics projects, so these are the tools I tried first.
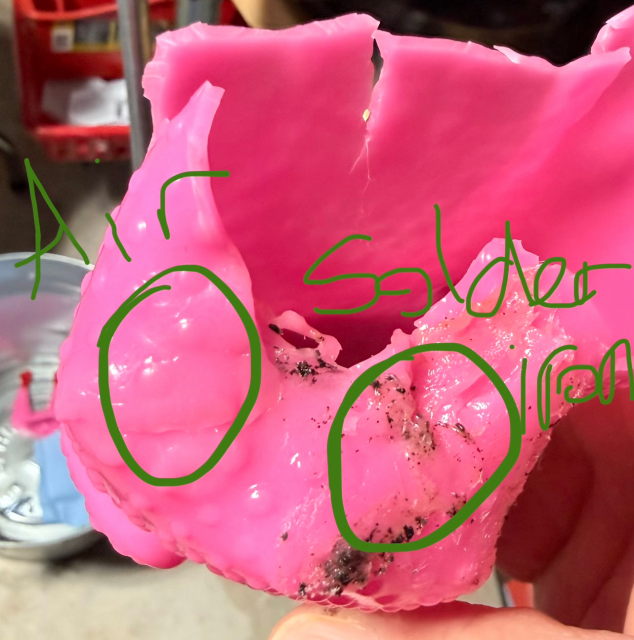
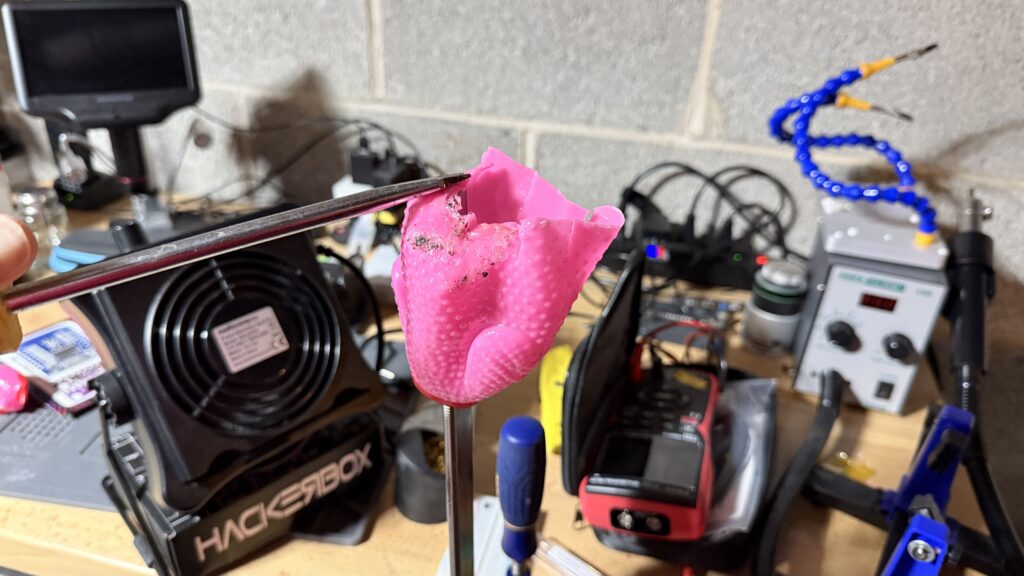
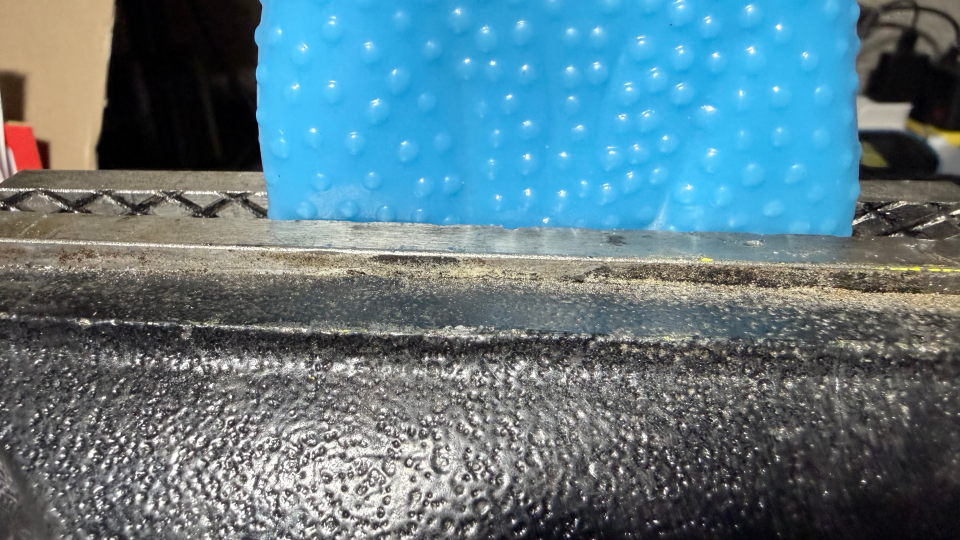
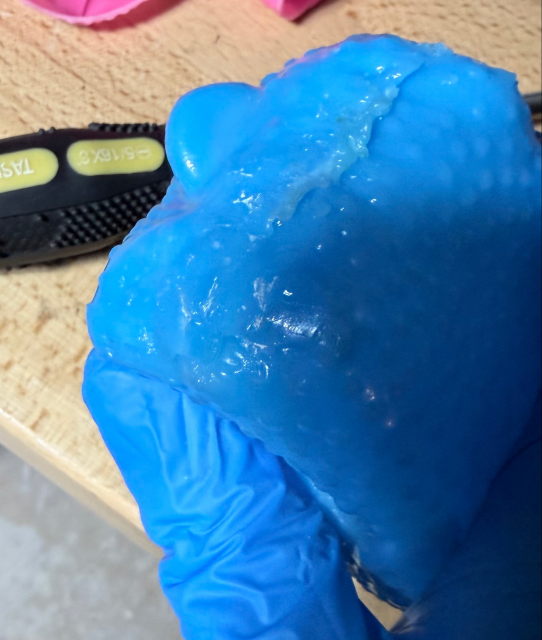
With the soldering iron, temperature control was tricky. The soldering iron I’m using is a FNIRSI HS-02 soldering iron with a chisel tip. In my experience, the temperature control is pretty decent, but it’s a very focused heat and it’s hard to heat evenly over a surface. Additionally, as I was dialing in the temperature it was really tricky to hold the work piece because the angle of the piece and the iron kinda required both of my hands. It was tricky to gradually heat up to see when the vinyl would start to melt and fuse. As you can see in the image, there was a good deal of scorching and burning. It was quickly apparent that this was not going to be the best approach.
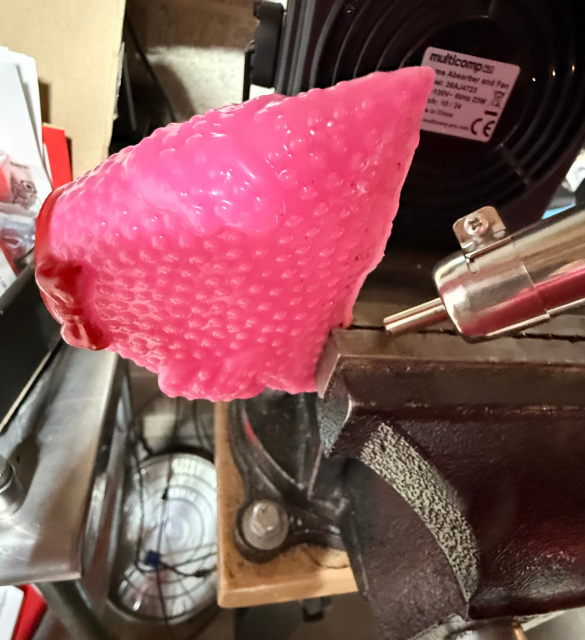
For the hot air, I was able to weld the pieces much more smoothly, and because my hot air rig is pretty flexible I was able to dial in the temperature pretty well. I found that 230ºC was about perfect, and the lowest airflow setting did the best. I did notice that if I turned up the airflow too much that I got bubbling or thinning of the material which created weak spots. I tried a lot of different setups, too. The first one shown above (Fig 2) I cut tabs into the material. This was mostly so that I could experiment with the welding; this rubber chicken was exclusively for science.
Honing the best technique
Here you can see how I tried to do more of a flat press in my bench-mounted vise. Little-by-little I would clamp the work piece in the vise and slowly weld it with the iron. No glue, no staples, just heat and patience. This approach did work better, but the flat seam was much much weaker than other seams I tried, and it lacked the flexibility that I’ll need for the project that this is for. This approach also resulted in some scorching, as the vise itself obscured the work piece making it difficult to tell when enough heat had been applied.
The technique that I found best for welding was to attach a ratcheting clamp to the workbench with the bar oriented upward, and then to put the clamp through the bow-tie hole, and use the bar as a sort of anvil (Fig 4a). Then I would slowly soften/melt the vinyl with hot air, and then use a wide-blade screwdriver to compress, pull, and smooth the material across the seam (Fig 4b). Getting the initial seam set up, though, was really tricky. The material really wants to bounce back, making it really difficult to heat the material. There has to be a better way!™
The superglue you knew was coming the whole time
Hackers, tinkerers, crafters, and artists all know what’s coming next: superglue.
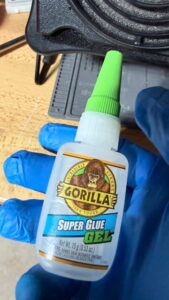
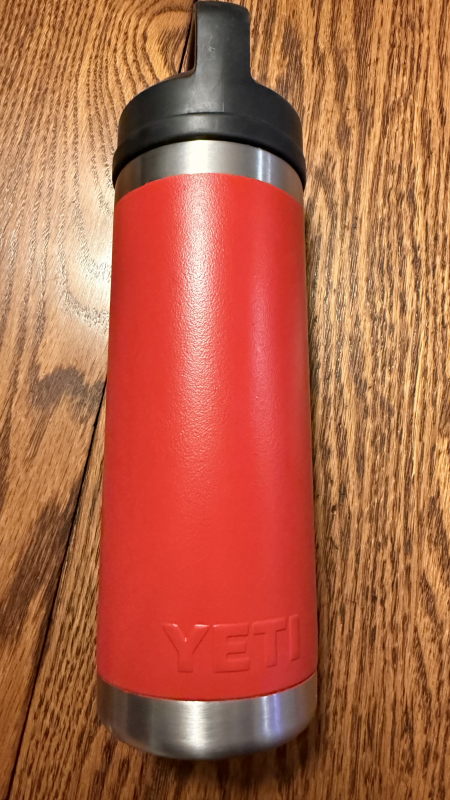
I know that we all have our favorites, but hear me out on this: Gorilla Super Glue Gel is without a doubt my favorite. I used it on my hard hat, I’ve used it for super strong magnets, and I’ve used it on a variety of materials. This bottle I’ve got in my hand was new in November, and it’s almost empty already. I’m not sponsored by Gorilla brand (send me free glue!), and I will still tell you that this is the magic ingredient in all of my projects (excluding software projects; still haven’t figured out how to use super glue on software). I go through about half a dozen bottles per year, and I make sure I always have some in my mobile kit when I go to cons. This glue is easy to apply, doesn’t cure in the nozzle, holds tight within about a minute, and in my experimentation I found that it did well taking the heat without breaking down, releasing, burning, or otherwise failing. There were a few steps I added to my process for using the glue, and it was surprisingly straight-forward.

The first step is making the cuts. I don’t have a large enough shear to get a straight cut, so I improvised: I put the chicken in my vise, measured for length (Fig 6a), and then clamped it tight. I made sure that it was straight, and that the jaws of the vise are where I wanted to cut (Fig 6b). From there I took my box cutter and made a straight cut (Fig 6c). Then I added four slits on the sides so that I could fold and glue.
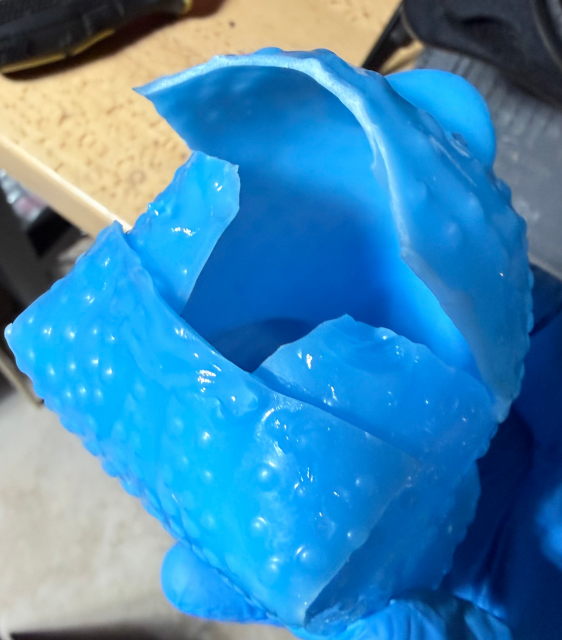
I glued the shorter flaps under the longer ones (Fig 7a), and then glued the remaining flap over all three others (Fig 7b). This technique really makes the welding so much easier and more precise. This vinyl doesn’t want to cooperate until you get it up to temperature, and once you get it hot it’s important to remove the heat quickly to avoid scorching. Slowly moving, heating and then compressing and smoothing with the screwdriver, I started sealing the seam so that the bellows could perform its function.
Behold: a truncated rubber chicken
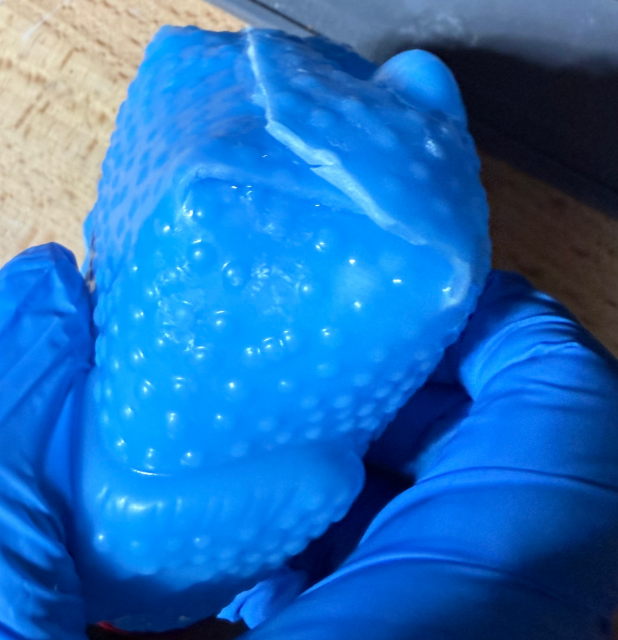
It’s important to pay special attention to the sides and the corners. Little gaps add up, and those gaps can lead to air loss and cracking. Welding the vinyl completely without thinning it out too much (Fig 8) took me about fifteen minutes.
And there you have it, a complete truncated rubber chicken (Fig 9)! Again, I’m not going to go into why I’m doing this just yet, though I will share the completed project when it’s ready. Now, I’m gonna wrap it up with video evidence (Fig 10) that I have achieved all of my goals–and by extension my wildest rubber chicken dreams!