My wife obtained a Game Gear from her late mother a while back, and I’ve finally gathered the courage to attempt fix. I purchased another one on eBay, foolishly thinking it would be usable for parts because I didn’t know that there were so many variants of this handheld. Why would there be different variants, after all, they’re both the same model number!
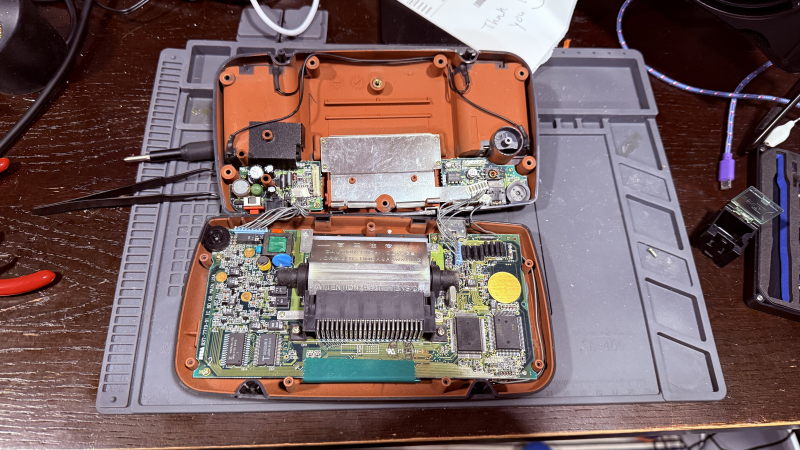
When I first got the device, I hooked it up to my power supply. I managed to get the power LED to light up, and the screen kinda/sorta turned on as well. Nothing played, though, and there was no sound or indication any code was actually running. Not unexpected, though, this device was made in 1991 and all of the documentation says to expect to need to replace a bunch of electrolytic capacitors. First, however, I needed to open this thing up to see which parts I needed to buy.
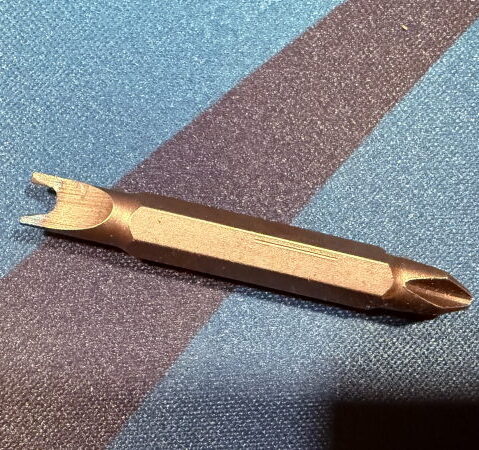
The Sega Game Gear has a security screw on it to keep folks from making changes to the device they paid for, so the first thing I needed to do was figure out how to turn that thing. A sacrificial screw driver bit, about ten minutes, and a Dremel were all I needed.
It turns out that I have two very different models: VA1, which is pretty common, and VA0 made in the USA, which seems to be less common. The nice thing is that RetroSix sells parts kits for all of them, which is lovely, so I bought myself a pair of capacitor kits and one power module kit (what are the odds that both of them have bad power supplies beyond just capacitors?). My order showed up so fast, it was silly: I placed my order at 22:03 on the 26th of February, and it showed up at 10:42 on the 28th. 36 hours and 39 minutes, y’all.
Re-Capping
This isn’t a walk-through, I’m just sharing my experience; please understand I’m skipping a lot.
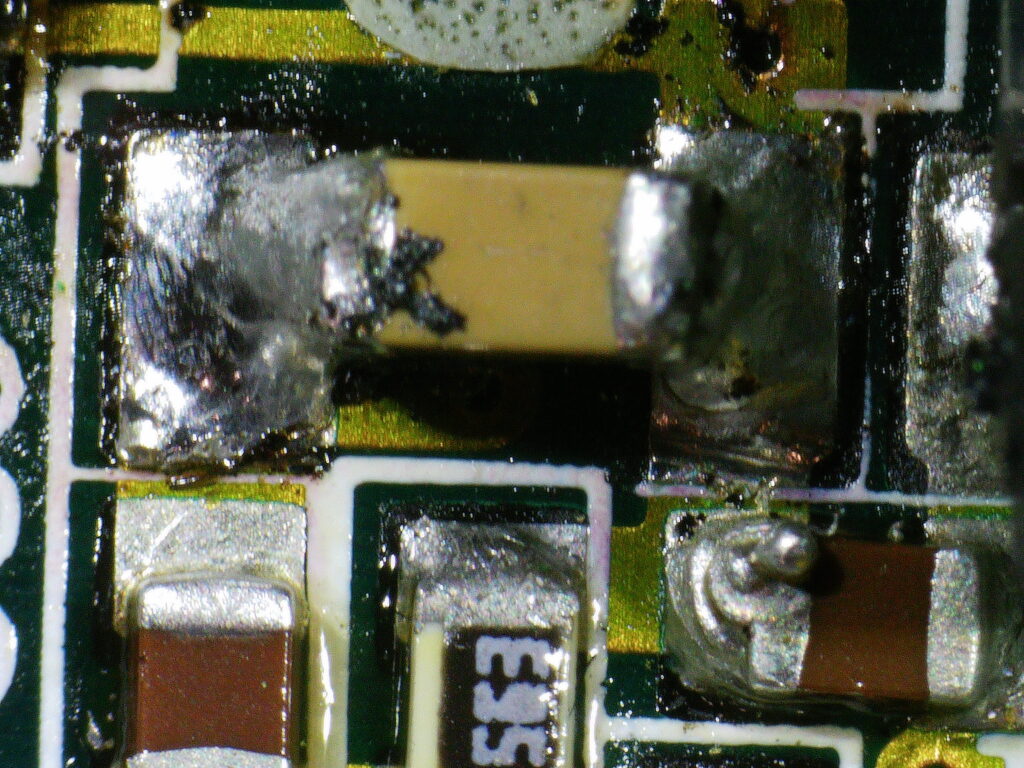
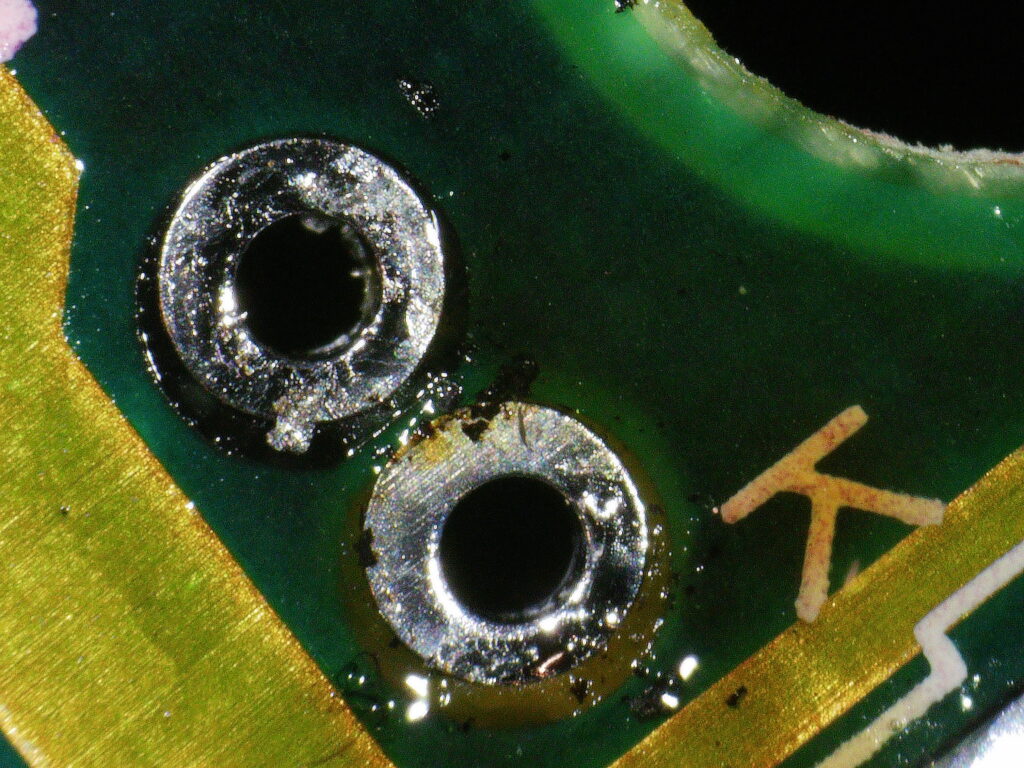
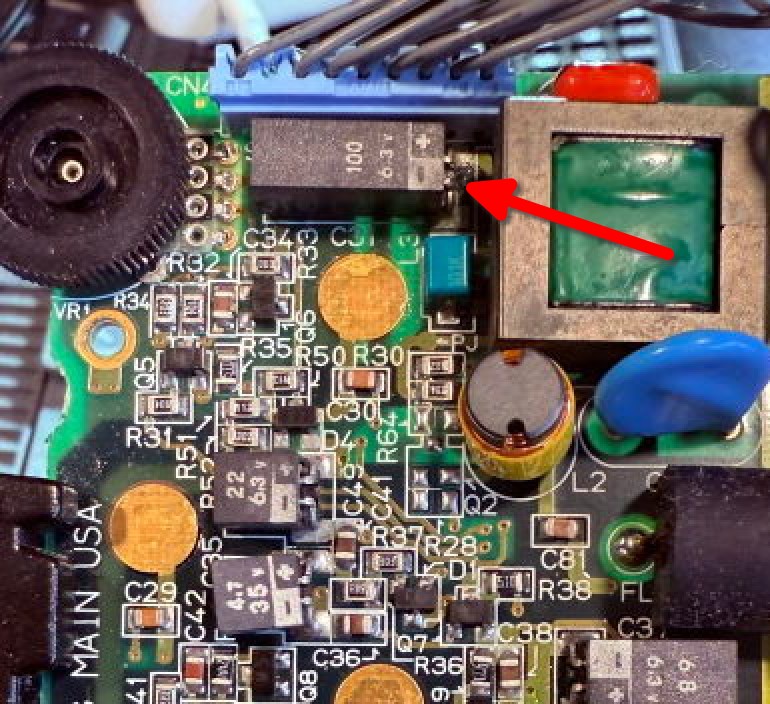
This kit replaces all of the surface-mount electrolytic capacitors with these surface-mount ceramic ones. The power board gets new electrolytic through-hole capacitors. Removing the capacitors is pretty straight-forward, though there were some tight spots.
So, after about an hour’s worth of work, I have all of the capacitors replaced, and it’s time to bench-test the unit. I plug the power and audio boards back in, and I set my power supply to 9V at 500mA, and I connect its leads to the battery terminal where the batteries would normally be.
The Cliff-Hanger
After all of that, when I power up the board I seem to have gone backwards: no power LED, and the screen turns on but turns immediately off again. It’s time to trouble-shoot, which is the skill we are here to build! Troubleshooting electrical circuits is something I don’t have much experience with, but I’ve wanted to learn for so long. After all, if you can’t troubleshoot something then you can’t rightly say you understand it, now can you? This is precisely the kind of experience I came to this party for, and I’m loving it.
Unfortunately, though, I won’t be able to share more until I find more time to sit down with my multimeter and oscilloscope to keep digging.
Acknowledgements and Thanks
Normally my posts don’t have a section such as this, but I can’t not acknowledge the RetroSix community that I’ve been enjoying being a part of. They’ve got a Discord server, they’ve got a wiki stuffed to the eyeballs with helpful information and schematics, and they also sell the parts. They produce delightful YouTube videos for re-capping these things, as well as other troubleshooting techniques and tips. They’re brilliant, and if you’re into this sort of thing then I recommend giving them a look. I’ll include some links below.
- Here’s the troubleshooting tutorial I’m following: https://www.retrosix.wiki/getting-to-red-light-boot-game-gear#UKcgV
- Here are the capacitor kits I bought: https://retrosix.us/products/game-gear-cleanlight-led-copy
- Here’s the power board kit I bought: https://retrosix.us/products/game-gear-power-board-ic-repair-kit?pr_prod_strat=e5_desc&pr_rec_id=f59877f43&pr_rec_pid=8773111677173&pr_ref_pid=8773110366453&pr_seq=uniform
- You can find their Discord and YouTube links here: https://retrosix.us/pages/contact